Setting up your own returns page.
The returns policy is an essential part of any webshop’s service. You cannot always avoid returns, and customers expect fast, clear returns instructions. They also want to be kept up to date with the status of their return shipment. A customer-friendly returns policy and a returns page in your own corporate design allows you to respond to these needs and encourage customer engagement.

How do I design my customised returns page?
Log into your account. Go to your Shop settings and click ‘Branding’ for the relevant webshop. Select a subdomain and accent colour. Upload a logo. Selecting a subdomain is mandatory, whereas setting an accent colour and logo is optional.
Scroll down further and check that your contact details and social media accounts have been entered correctly. When you have entered this information, it will be displayed at the bottom of your returns page. Save the changes by clicking ‘Save’ at the bottom of the page.
Navigate to ‘Returns’ and ‘Return portal’. Set ‘Display a personalized return portal to my customers’ to ‘Yes’. Then enter the text that needs to be displayed on your returns page. If you would also like to provide the text in another language, you can select one of the options. For some languages, the standard translation is available. Save the changes by clicking ‘Save’ at the bottom of the page. If you would also like to design your own Track & Trace page, click here.
The benefits for you.
An efficient returns process keeps your customers happy, results in higher conversion and increases your customers’ engagement.
The simpler your returns policy, the sooner you will have the products back and be able to sell them again.
With an automated returns process, you make the process easy for both yourself and your customer and you save lots of time.
A positive returns experiences makes consumers up to three times more likely to make repeat purchases.
Confidence in your webshop will increase, making customers more loyal and more likely to come back.
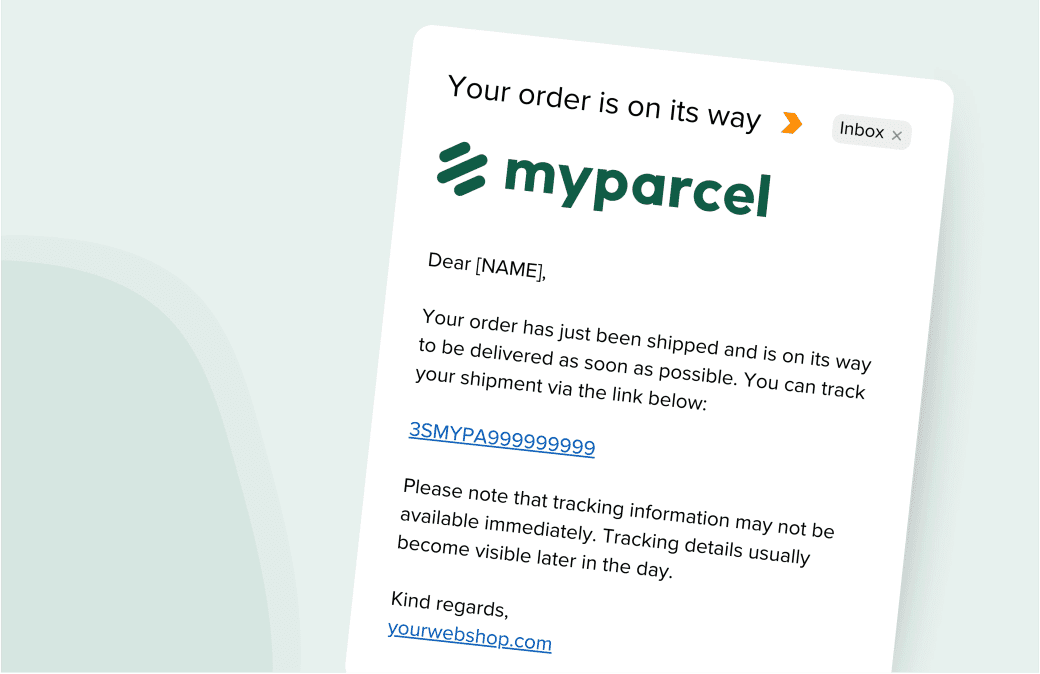
Customising your return email.
The return email is how you send your customer a return label. A default return email is already set up for you, and you can customise it.
Step 1. Go to your emails
Log in to your account and go to Shop settings > Emails.
Step 2. Choose the destination
Choose the destination you want to customise the return email for.
Step 3. Open the return email
Click ‘Return shipment’ and then ‘Edit email’.
Step 4. Edit and test your email
Make your changes to the email. Then send a test email to yourself, so you see exactly what your customer receives.
Step 5. Save
Happy with it? Click ‘Save’. From then on, your customer receives this return email for the selected destination whenever you send a return label.
