Design your own Track & Trace page.
At least 78% of consumers check the shipping status of their online order more than once. That is why a Track & Trace page that matches your webshop’s look & feel is the most effective, efficient way of engaging customers with your webshop and offering the ultimate last mile experience!

350
new customers per month, who can customise their own Track & Trace page.
23%
of visitors return to the webshop through a banner.
40%
more engagement on social media by integrating your social media channels.
What is a Track & Trace page?
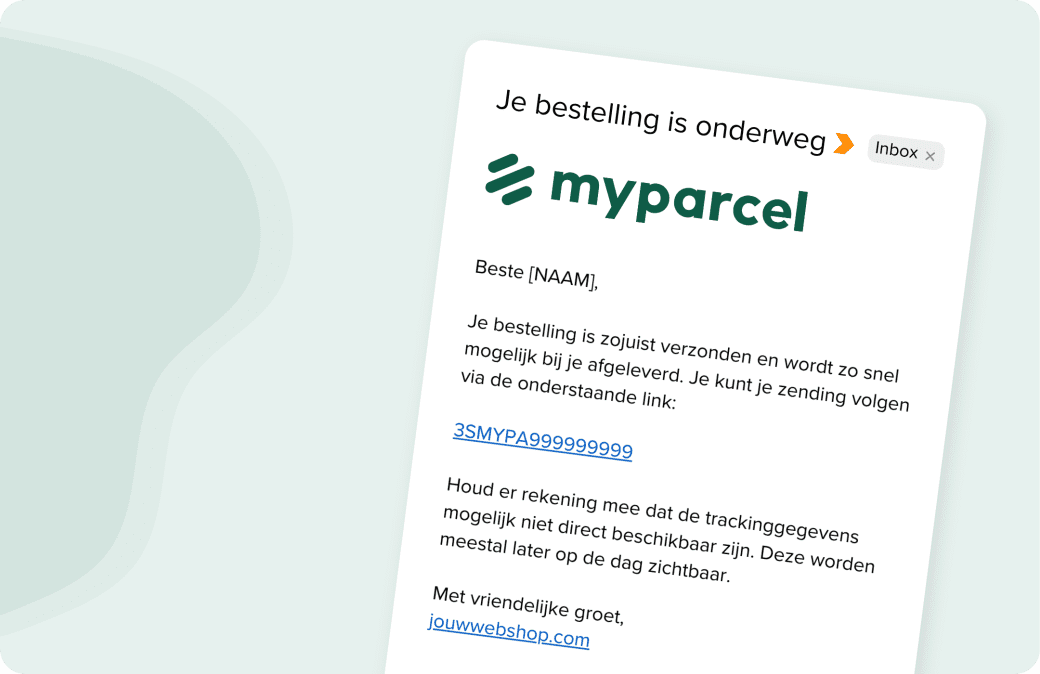
Once your customers have checked out, they want to know where their order is. A Track & Trace page shows them the current shipping status. They reach it through the link in your Track & Trace email. You set up both the email and the page with your own branding and contact details. That way, waiting for delivery remains a touchpoint with your webshop.
How do I set up my Track & Trace email and page?
Your customers reach your Track & Trace page through your Track & Trace email, so you set up the email first.
Step 1. Go to your Track & Trace emails
Log in to your account and go to Shop settings > Emails. Here you’ll find your Track & Trace emails by country and shipment type. You’ll also see the default emails for countries you haven’t set up yet. You can switch a default email on or off, but you can’t delete it.
Step 2. Add a Track & Trace email
Click ‘Add email flow’. Then choose the country and shipment type you want to set up the email for.
Step 3. Choose when the email is sent
Your customer receives the email:
when you download the label;
after the carrier’s first scan;
at both moments.
If you choose the first scan, your customer only hears from you once the parcel is actually on its way.
Step 4. Customise your email
Click ‘Edit email’ on the right. A template is ready for you. Your logo, colours, contact details and social media channels come from Shop settings > Branding. If you haven’t filled them in yet, add them there.
Then edit the subject line and text. Tags fill in details automatically, such as your customer’s name, your shop name, the carrier and the tracking number.
Step 5. Test and activate
Send a test email to yourself first, so you see exactly what your customer receives. Happy with it? Click ‘Save’, choose the sender and activate the email. From then on, we send this Track & Trace email automatically for the selected country and shipment type.
Step 6. Turn on your Track & Trace page
Go to Shop settings > Portal and tick ‘Enable personalised Track & Trace page’. You set this up per language.
Step 7. Check your branding
The brand colours, address details and other brand information on the page come from Shop settings > Branding. Want to change something? Update it in Brand. The preview shows you right away what your page looks like.
Step 8. Save
Happy with it? Click ‘Save’. Your Track & Trace page is ready to use.
Want to set up your own returns page as well? Here’s how.
